
Dryers make laundry day so much easier – all you need to do is toss in your damp clothes, press a button, and a couple of minutes later, you have dry and freshly fluffed laundry. However, even the most efficient tumble dryer won’t continue to deliver if you don’t do regular cleaning.
Here is how to clean a dryer in 10 easy steps:
Table of Contents
Step 1. Unplug your dryer
To start a thorough deep-cleaning of your dryer, you’ll first need to turn it off. If you have an electric dryer, unplug the cord. With a gas dryer, you’ll need to shut off the appliance’s gas supply after unplugging it.
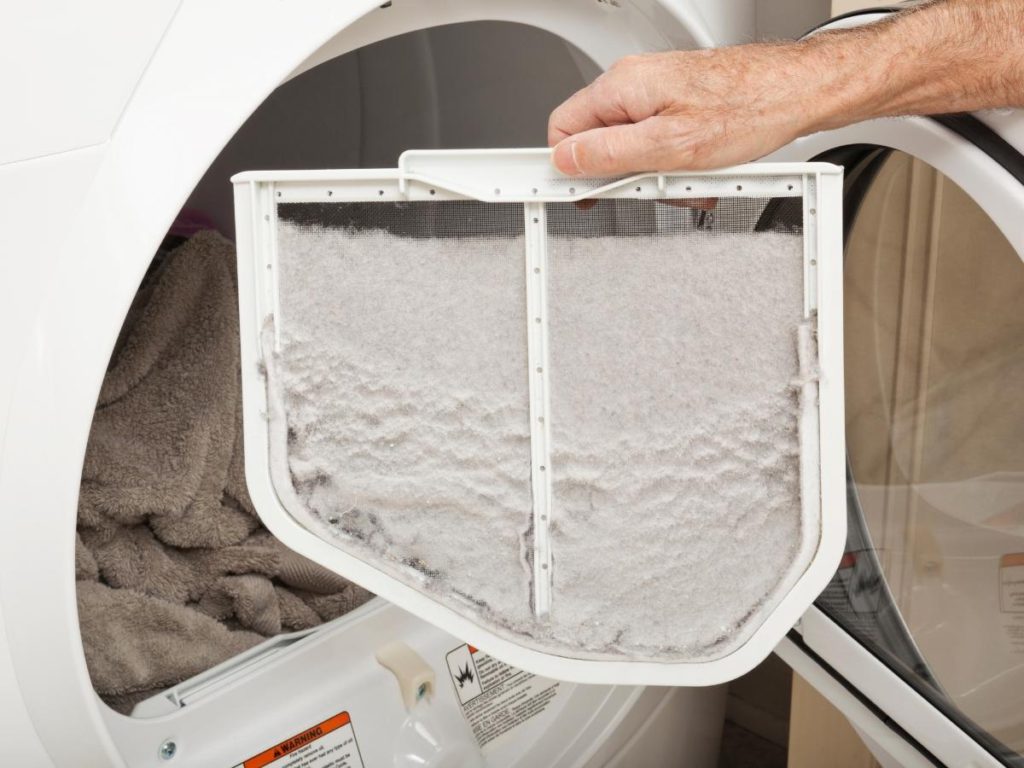
Step 2. Clean the lint screen using a soft brush
Dust and fluff from tumbling clothes typically end up in the lint filter or screen. Ideally, it would be best to clean the lint screen every time you dry a load of clothes. This is important to prevent it from becoming clogged and restricting airflow through your dryer, which will make the drying process less efficient. Another reason to clean your lint filter has to do with safety. Restriction in airflow within a dryer can cause it to heat up, which could lead to the appliance potentially catching fire.
To clean your lint screen, you will need to pull it straight out to remove it from the dryer. Use a soft brush to remove as much lint as possible, and then wipe the screen with a fabric softener sheet to get rid of any lingering pieces of lint.
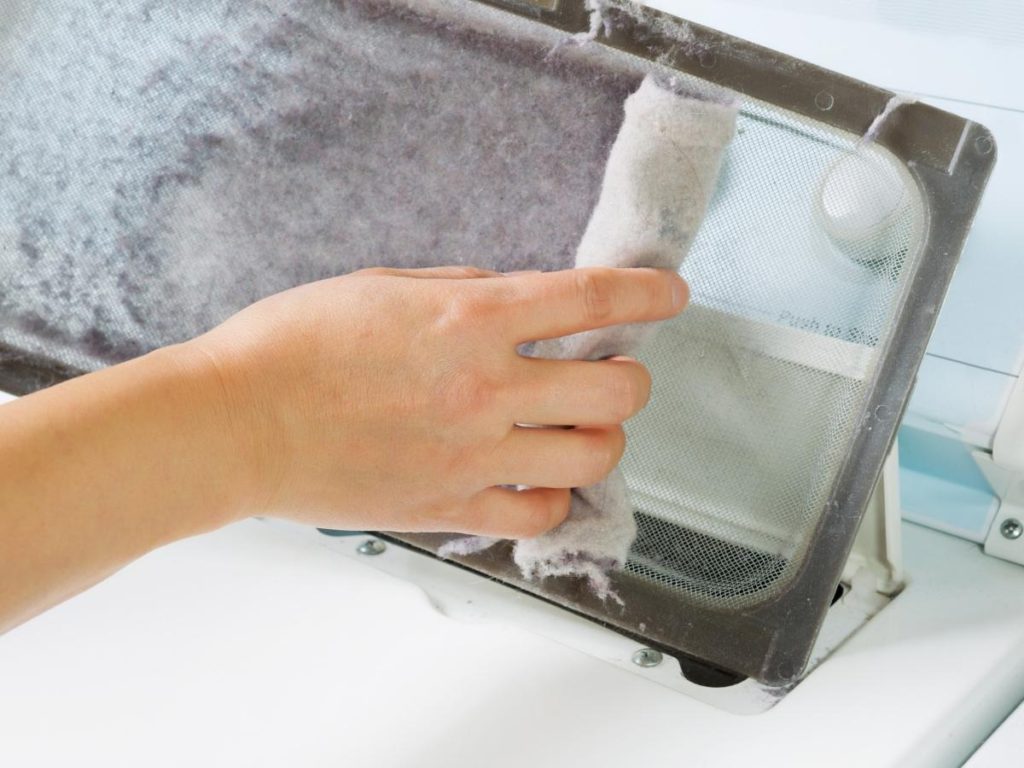
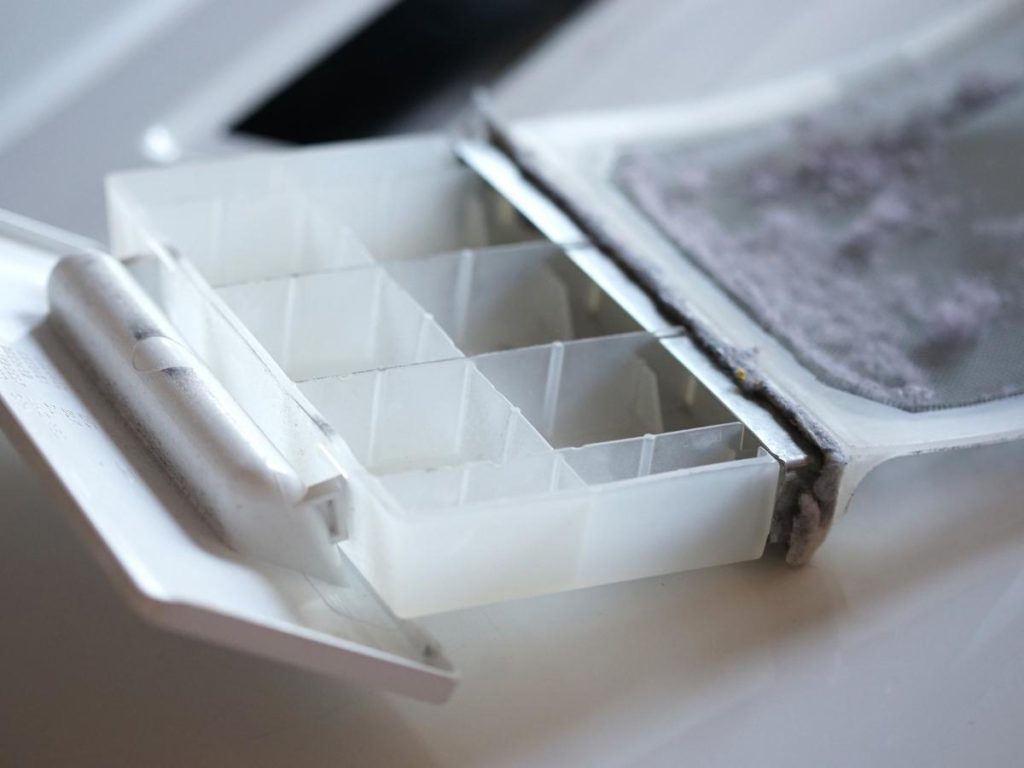
Step 3. Remove lint from the trap
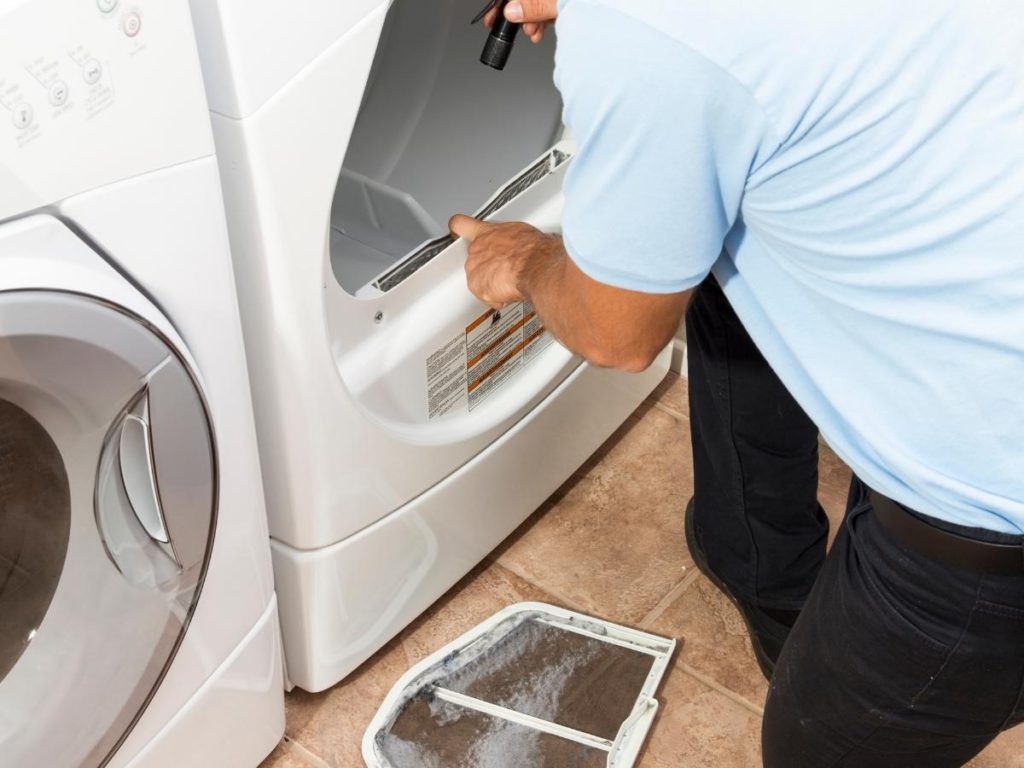
You also need to clean the lint trap regularly and give it the occasional deep clean to help maintain the efficiency of your dryer. Use a flexible lint brush to clean the trap. Insert the brush as far as it can go into the lint trap and carefully rub along one side to catch lint. Remove the brush, wipe it with a dry towel, and reinsert it to clean the other side of the trap. If you have a vacuum attachment suitable for cleaning lint traps, use it to suction out any lint that you may have loosened from the sides.
Step 4. Empty the water tank
If your dryer isn’t set to drain water automatically, you’ll need to make sure that the water tank is emptied before you clean your dryer. To make things easier, always empty the water tank if you have a condenser or heat-pump dryer after every use.
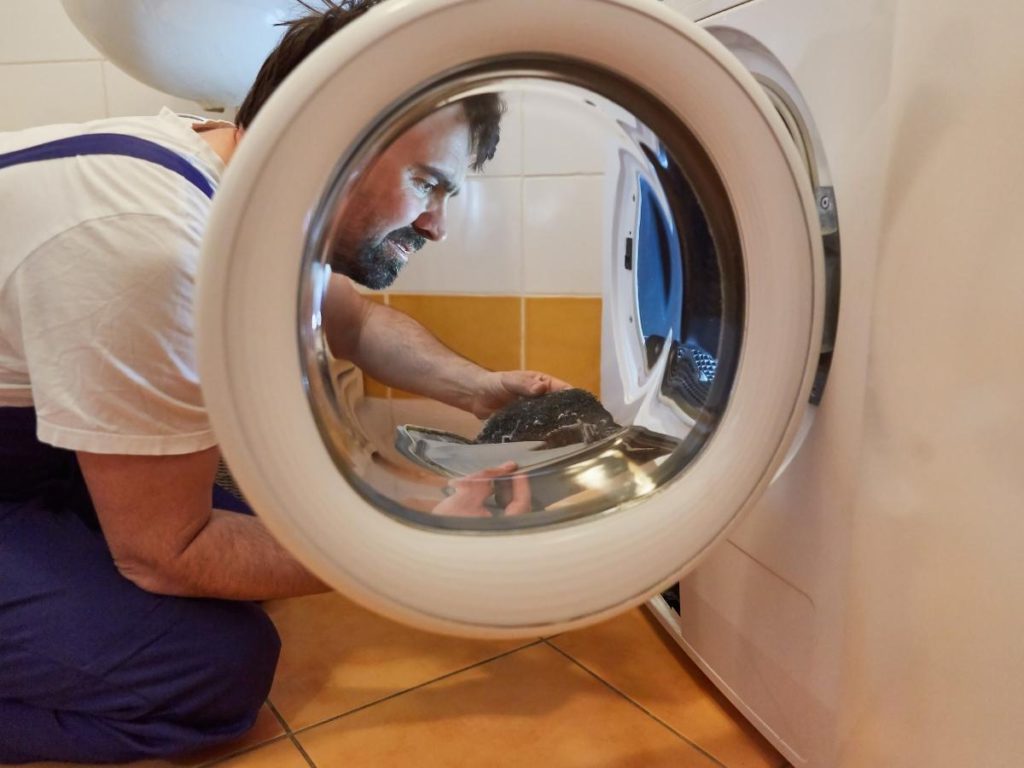
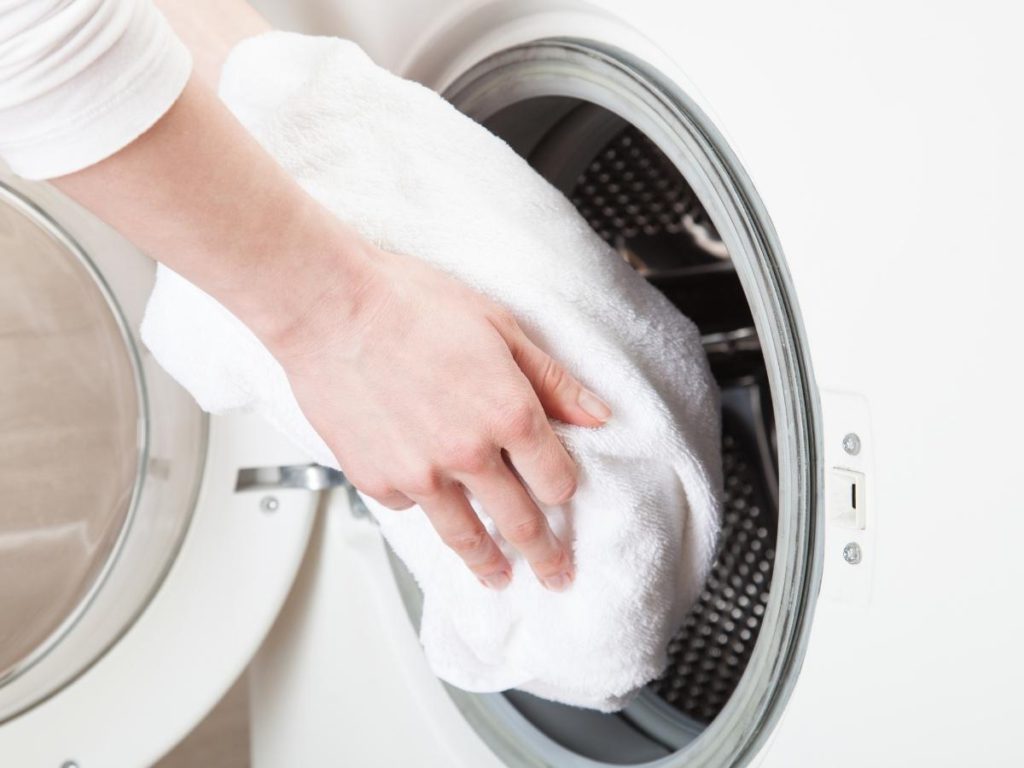
Step 5. Clean the dryer drum using a microfiber cloth and soapy water
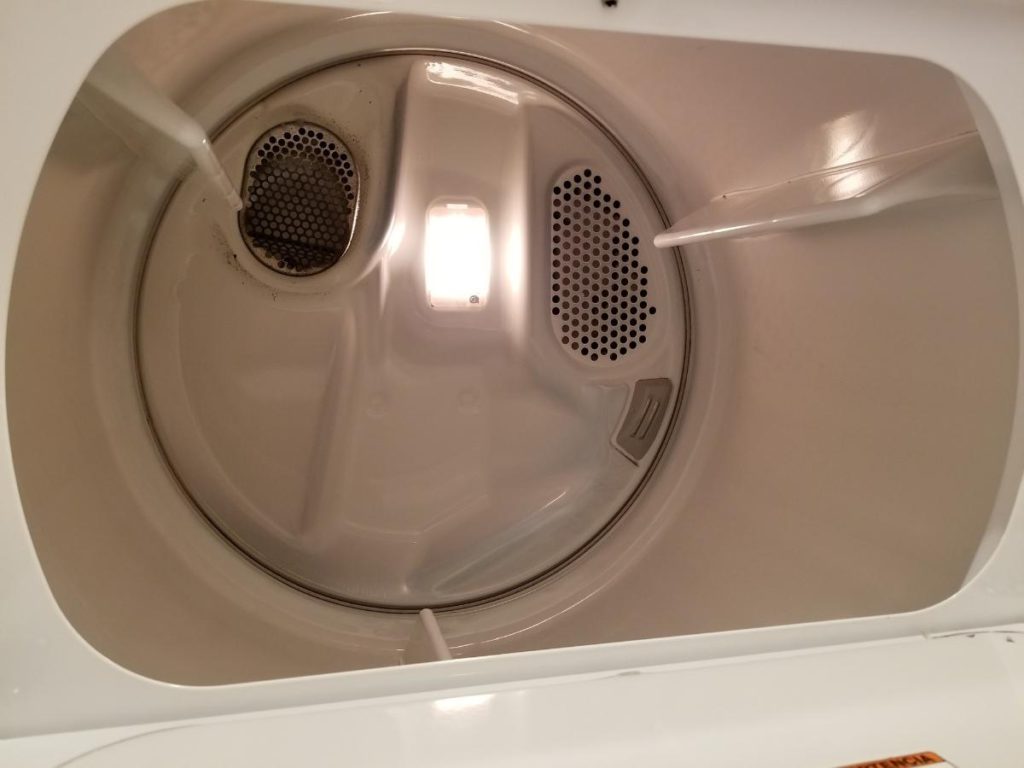
The dryer drum is where you place the clothes you want to dry. While you probably only want to put in clean, wet clothes in the dryer drum, things can get caught up or fall out of your clothing during the drying process, which makes it necessary to clean the drum occasionally.
To clean your dryer drum, use a mild dishwashing detergent mixed at a low concentration with warm water, and rub with a microfiber cloth. Rinse the drum with a damp sponge or towel. To dry the drum, you can tumble a load of clean clothes or a second microfiber towel to dry.
If there is lint buildup inside the dryer drum, open the panel around it to remove the debris. Generally, either the front or top panel will come off (or both). You’ll need to find screws around the lint filter and undo them to remove the panel. Once you remove the panel and expose the drum, remove lint and other debris by hand or using a vacuum. After cleaning the drum, snap the panels back into place and carefully replace the screws.
The drying sensor, also known as the humidity sensor, is located in the drum, usually below the dryer opening in most models. It’s made of two strips of metal that can detect moisture and switch the dryer off when the clothes become dry. However, a dirty sensor will lead to inconsistent drying, with clothes either being left too wet or overly dry. To clean the drying sensor, wipe it with white vinegar and a cloth or a cleaning wipe.
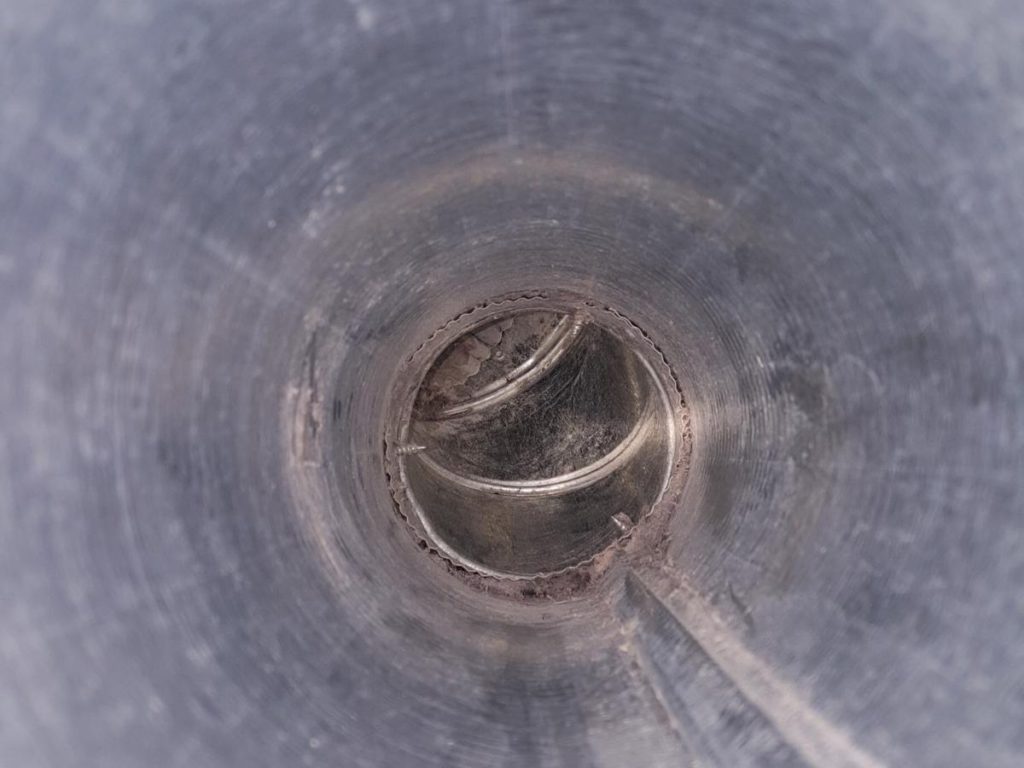
Step 6. Use a lint brush to clean the heat exchanger
The heat exchanger functions by turning the steam from the drum back into water that goes into the water tank. In addition to the steam and air that passes through the heat exchanger, there can also be fibres that, over time, can become clogged and dirty.
A clogged-up heat exchanger will significantly slow the flow of air through the dryer and reduce its efficiency, so make sure you remove and clean it every month or so. If you have a condenser dryer, the heavy exchanger will be located at the front of the appliance, below the drum, and behind a panel or door. Once you remove it, clean away lumps of fluff by hand or using a lint brush, and remove the rest of the debris by cleaning it under running water.
Step 7. Cleaning out the dryer vent


Remove the exhaust hose
After you’ve disconnected your dryer, pull the dryer out from the wall so you can squeeze behind it and remove the exhaust hose. Have a friend help you out if necessary. Be cautious of any electric, water, or gas lines. If the exhaust hose is clamped, carefully press the clamp ends together to release the hose. Otherwise, use a flat head screwdriver to detach the tubing from the back of the dryer.
It’s not uncommon for the exhaust hose to be full of lint and debris. Lint is highly flammable, and it can also significantly reduce the efficiency of a dryer. Use a vacuum to remove lint within the hose. If there is a significant buildup in the exhaust hose, you may have to use a flexible lint brush that is just the right size for cleaning the hose. Check at your local hardware store to see if you can find one. Alternatively, you can try inserting a clean toilet brush into the flexible part of the exhaust hose and use the bristles to scrub lint and debris loose.
Other options include a leaf blower or an air compressor to quickly clean a rigid vent hose. Never use anything more powerful than a blow-dryer when cleaning semi-rigid or flexible exhaust hoses, and steer clear of coat hangers or any other pointy objects that may scrape the inside of the hose and puncture it.
Clean the vent on the wall
The flexible hose section of the dryer connects it to the wall, and there is a tube connecting the exhaust to the outdoors from the wall. This dryer part is also prone to clogging with lint and debris and should be cleaned. Wrap a towel around a broomstick and insert it into the vent. Move the towel around to dislodge any blockages and scrape the lint in the tube loose. Take a look inside the tube to see if there are any blockages to exhaust passage to the outdoors.
Check the exhaust vent louver
If you have a vented tumble dryer, you’ll want to check that the wall vent is clear of fluff. The exhaust vent louver is located on the outside of your house, and it is usually held in place with screws that you can remove using a screwdriver. Some models can pop on and off without fasteners. Remove large chunks of debris with your hand and check to see any obstructions in the tube.
Step 8. Cleaning the dryer exterior
Make a point of cleaning your dryer exterior every week or two to remove detergent spills, dust, and other buildup. Wipe the exterior of your dryer down (including the knobs and buttons) with a damp cloth dipped in soapy water. Use a clean, wet cloth to remove the soapy residue, then wipe dry with a microfiber towel.
Step 9. Cleaning common stains inside a dryer
Despite checking everyone’s pockets, sometimes unexpected items make their way into the dryer. The most common culprits include pens, chewing gum, crayons, and lipstick. Stains inside your dryer can easily transfer to clothes and ruin them. Here are tips on how to clean common stains inside a dryer.
Crayons
- Scrape off visible chunks of crayon using a spatula or an old credit card.
- Spray a small amount of WD-40 on a soft cloth and use it to scrub the remaining crayon out of the dryer drum. Never spray WD-40 directly into the dryer drum as it could seep through the holes of the drum and cause a fire the next time you use your dryer.
- Use a damp rag to wipe down the areas of the drum that you cleaned with WD-40.
- Finish up by cleaning the drum with soap and water and wiping it dry with a clean dry towel or running a cycle with old towels.
Ink
- Start by running the dryer for about 10-15 minutes to warm up the metal drum and soften the ink to make it easier to remove
- Unplug the dryer
- Dampen an old white rag with isopropyl alcohol and use the rag to wipe off the ink. Change rags as often as necessary to prevent ink from being redistributed.
- If you don’t have isopropyl alcohol, you can use a nail polish remover that contains acetone. Soak a soft cloth or cotton ball with nail polish remover and rub the ink-stained areas.
- Once you’ve removed as much ink as possible, use a clean white cloth dipped in warm, soapy water to wipe down the inside of the drum. Rinse with a damp cloth.
- With your dryer rinsed out, run a cycle with old white towels. If they come out completely white, you’ll have removed all the ink. If not, repeat the process.
Dye
- If there are small splotches of dye in your dryer, you can use a baking soda paste to scrub them out. To make the paste, add a few drops of water to baking soda. Put the paste onto the affected areas and scrub thoroughly using a scrubbing sponge. Change sponges as needed.
- If the entire dryer drum is stained with splotches of dye. It’s unlikely you’ll be able to remove all of it by hand. Instead, soak a couple of towels in a solution consisting of one cup of household bleach and three gallons of hot water. Remember to wear rubber gloves and protective eyewear when working with bleach.
- Wring the towels out to get rid of excess water.
- Toss the towels in the drum and run the dryer for half an hour through the air-fluff setting
- Repeat the process if necessary.
Lipstick
- Run the dryer for about 10-15 minutes to soften the lipstick and make it easier to remove. Alternatively, you can use a hairdryer to heat up the affected areas.
- With the dryer still warm, wipe the lipstick with a soft, dry cloth.
- Unplug the dryer and allow it to cool down completely
- If there are any lingering lipstick stains, use a soft cloth dampened with rubbing alcohol to wipe them off
- Plug your dryer back in and run a load of old towels through a cycle to get rid of any remaining lipstick stains and traces of rubbing alcohol
Gum or candy
- Use a plastic spatula to scrape off as much hardened gum or candy from the dryer drum
- Use a blow dryer to soften the remaining gum or candy until it becomes pliable and scrape it off with your spatula.
- Spray a small amount of all-purpose cleaner onto the affected area, then wipe it off with a clean,dry cloth.
Step 10. Plug back your dryer and make a test run
Plug back the dryer and start it. Let it run for a couple of minutes to see if any other debris is loosened. Check the exterior side of the vent to see if everything is working correctly.
How often should you clean your dryer?
Some dryer parts require cleaning after every use, while others only need annual maintenance.
- Every use: clean the lint screen and empty the water tank after every use
- Weekly: wipe down the dryer drum and exterior weekly. Remove lint from the lint trap regularly as well
- At least once a year: deep clean your dryer inside and out at least once a year.
Final thoughts
Knowing how and when to clean your dryer can go a long way toward keeping it in good working form. Ultimately, how well you clean and maintain your dryer can contribute to a longer lifespan of the appliance.
Related article:
How To Clean A Vacant Apartment?
How Do Professionals Clean Apartments?
How To Magically Clean The Bottom of ANY Pan?
How To Clean Marble With Minimal Hassle?
How to Clean Brass: Without a Single Scratch?
How to Clean a Dishwasher In 10 Simple Steps: Today
How to Clean Laminate Floors: 5 Do’s and 7 Don’ts
How Can I Disinfect My Apartment?
What To Do If You Find Mold In Your Apartment?
Last update on 2023-04-16 / Affiliate links / Images from Amazon Product Advertising API